
 Image 1 of 4
 Image 2 of 4
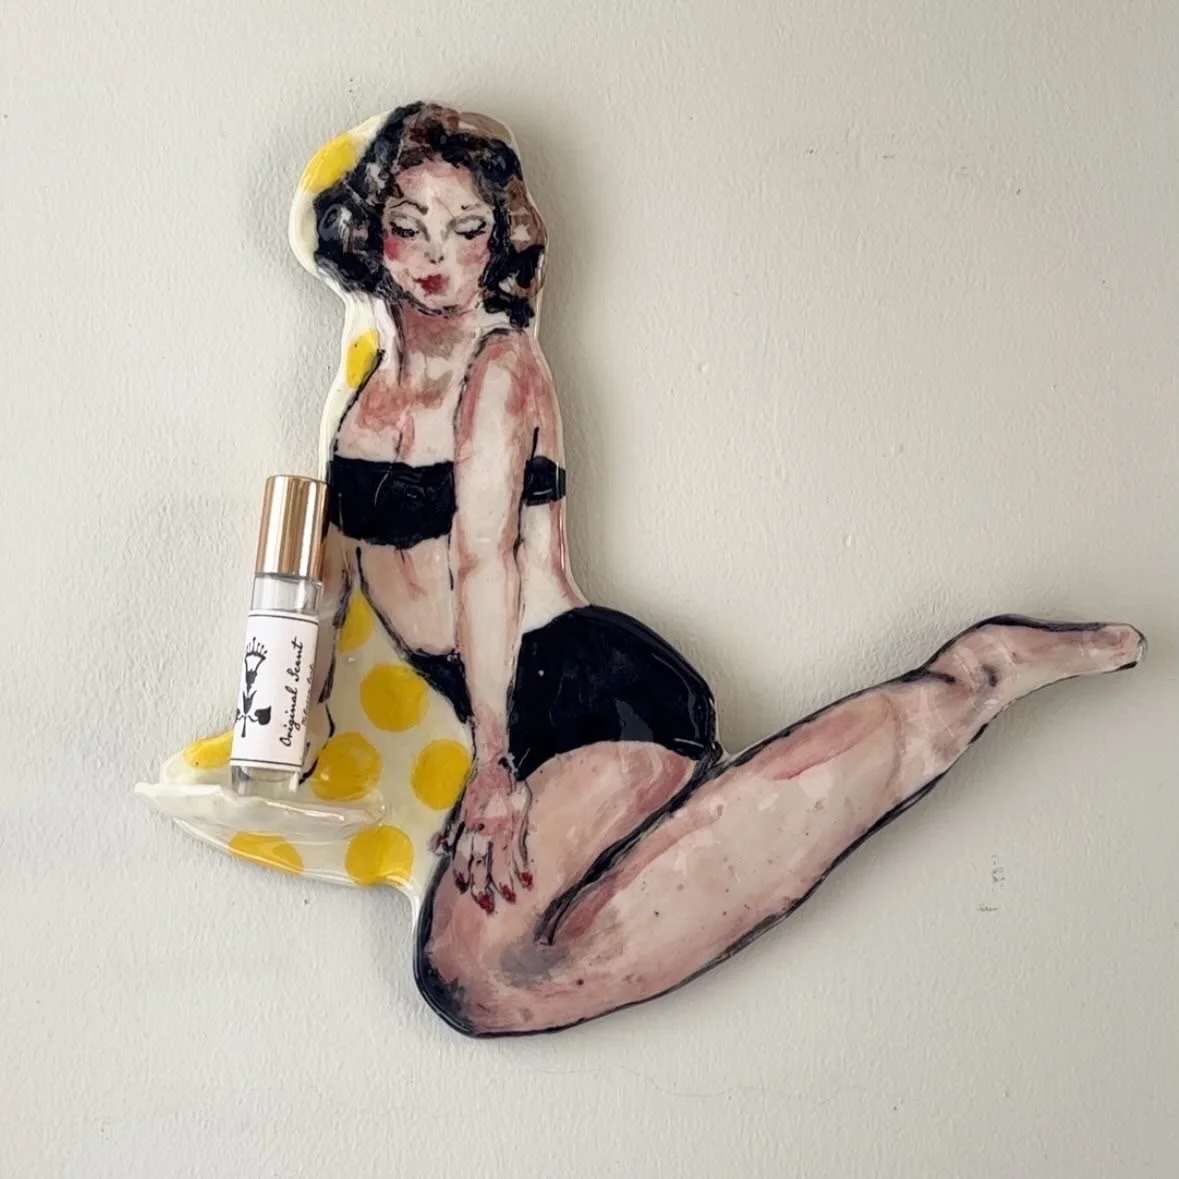 Image 3 of 4
 Image 4 of 4
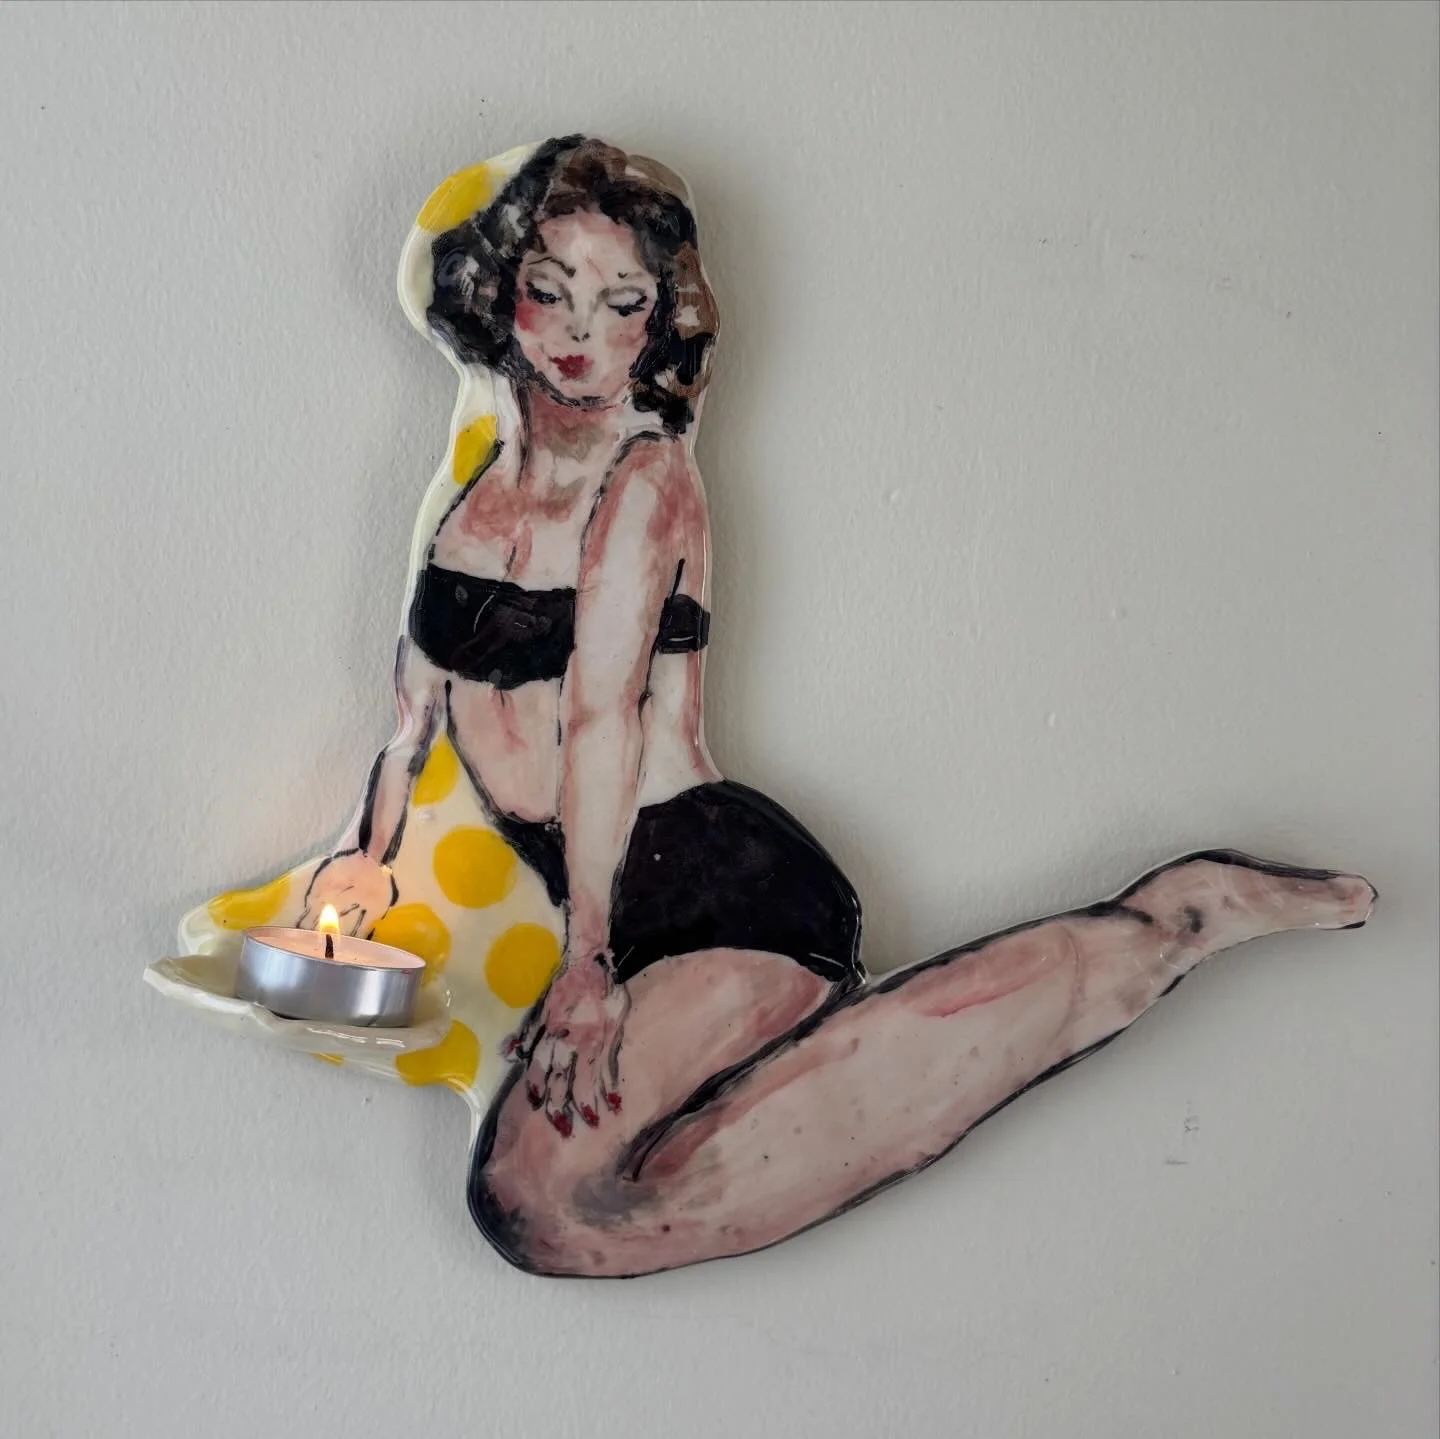
10” x 8”
Handmade
Handpainted
Stoneware
Wall-mounted with a hook for secure installation.
10” x 8”
Handmade
Handpainted
Stoneware
Wall-mounted with a hook for secure installation.